


Clients these days want more, so business owners have to meet their demands and offer an extraordinary customer experience. The good news is, you can fulfill your clients’ expectations quite easily if you make just one small adjustment – introducing a client portal to your website.
Client portal and its benefits
A client portal is a secure web app your clients can access to interact with your business. It allows you to exchange information online in a secure environment. For your clients, it provides a plethora of features and uses in one place, such as easy payment processing and secure file sharing.
These are just a couple of advantages you’ll get out of it:
- Increased accessibility
- Improved security
- Positive user experience
- More efficiency
How does a client portal work and what features do you need?
There is a short login process that usually consists of entering an email address after which a client receives a login code. Now they can start interacting with your business. For example, they can view their appointment history, make new appointments, as well as reschedule the existing ones (all without making a single phone call).
Most client portals have a login process similar to this. However, the actions they can take depend on the portal. A robust client portal software has to provide you with these key features:
- Payment processing allows your clients to pay for invoices and deposits easily and securely.
- Scheduling is useful because it provides your clients with more convenience and control. They can book, cancel, or reschedule without any involvement from your administrative team.
- File sharing gives you and your clients confidence that data is handled in a secure environment.
- Messaging streamlines client communication.
How to set up a client portal?
You’ll find that a client portal is fairly simple to set up. For this example, we’re going to use the vcita client portal and you’ll see how easy it is to customize a vanilla page to better suit the needs of your business.
After you’ve set up your account, this is where you need to go:
- Click on the Online Presence button
- Go to Business Page
- Edit Business Page
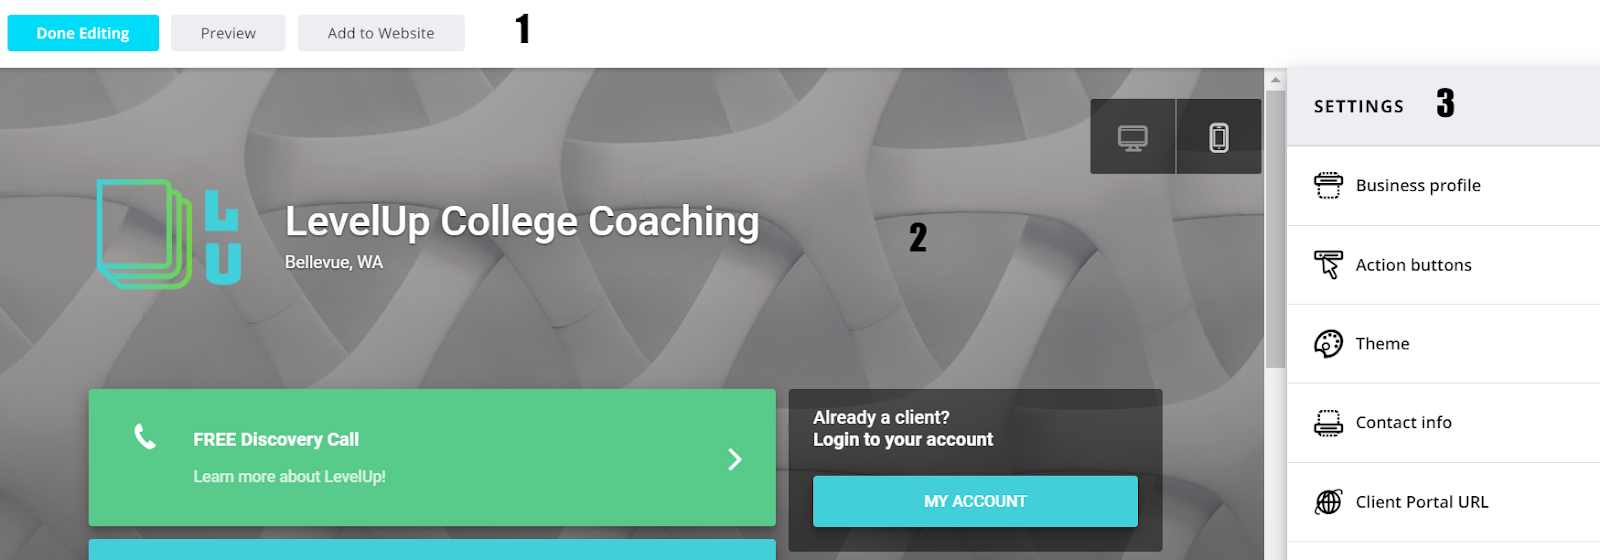
You can customize these things:
- Business profile: Here you can enter and edit business info, introduce your team and add social media icons that clients can use to share your portal on social media.
- Action buttons: Buttons that clients use to interact with your business.
- Theme: Appearance of your client portal.
- Contact: Website, email, and so on.
- Client Portal URL: A link that leads directly to your client portal.
While writing an engaging description of your business or figuring out a nice color scheme is useful, action buttons are what you should customize the most.
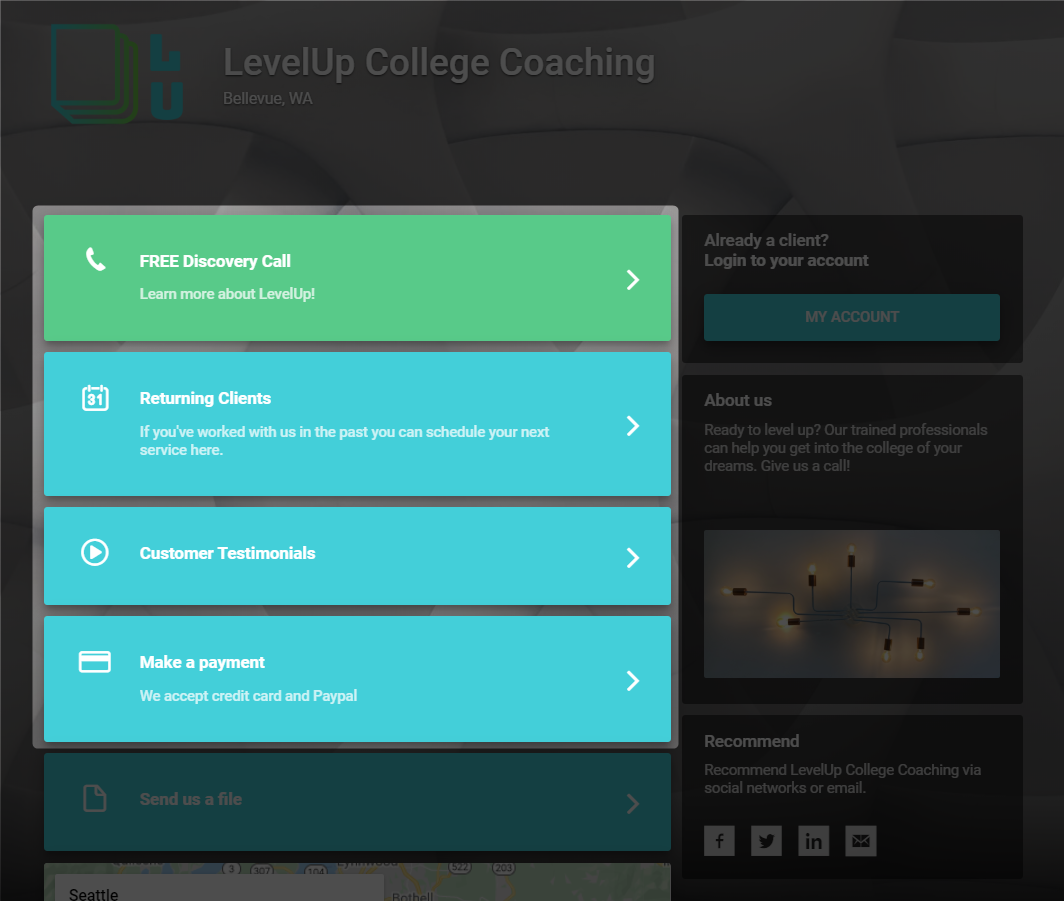
Action buttons are shortcuts your clients can use to interact with your business. You can fully customize these buttons according to your business needs. For instance, there are action buttons for all the four key features previously mentioned, as well as for other functions, like social media links.
A well-written action button can compel users to interact with your website. You should always keep these two rules in mind when writing an action button:
- Keep it short and simple.
- Make it action-oriented (e.g. “Compare pricing”).
Adding the client portal buttons to your website
You can also quickly add the action buttons from your client portal to your WordPress website. First, you need to get a link for a particular action you want to add to your site:
- Go to Online Presence
- Click on the Client Portal button
- Click on Create Direct Links
- In the popup menu, pick the button you need the link for and follow the system prompts
- Click on Get Link and you can now copy the link you’ve just generated
You can embed this link to any button or image in WordPress:
- Open the page where you want to add the button
- Use the WordPress site editor to insert the button
- Paste the link
- Click update
Generating leads
Using widgets (especially those in vcita) can help you easily generate leads on your site. You can try implementing some of these widgets:
- Scheduling button: Once you find the desired design for a button, you can use the method we described previously to create a ‘’Schedule now’’ button.
- Pop-up widget: As the name suggests, an action you want your visitors to take can be displayed in a popup at the bottom of your page.
- Contact form: Allows visitors to your contact page to request a service, as well as schedule a meeting.
- Contact/schedule sidebar: This sidebar can be added to any page or a post on your site. It can contain an attention-grabbing image along with an invitation to schedule a meeting, for example.
- Scheduling calendar: Not only does it display all your services on your webpage, but this widget also lets your clients finish scheduling an appointment themselves without leaving your site.
Interaction made simple
Introducing a client portal into your website is the best way to increase customer satisfaction, generate new leads, and cut down on administrative costs in a single swoop.
But the best news is – creating, customizing, and adding it to your site is quite easy and doesn’t require any significant costs or changes in your workflow.
The advantages of a client portal are hard to ignore, and it’s something clients, old and new, will appreciate. The convenience it provides is also becoming a necessity, so you shouldn’t wait any longer to implement it and start reaping the benefits.
